Showing posts with label New Crafts. Show all posts

Friday, 31 January 2014

New Products to The C of C on Etsy!

So it's been a while since I updated my Etsy shop and I realise how annoying that can be! I'm so sorry if anyone has been waiting for an update!

I decided to try out a new product after seeing an idea in a magazine that we stock at work, called Bead & Jewellery. It was a bead woven bunting necklace. I'd never tried bead weaving before and thought it would be highly laborious and a bit of a pain, but I was proven wrong!

Bead & Jewellery Magazine. Image from mailorder-beads.co.uk

I love bunting. It's my dream to learn to sew and I would have bunting everywhere! One day I will learn, but in the meantime, I will just make bunting to wear around my neck! I grabbed a few Miyuki Delica beads, some bead weaving thread and a needle and got making! I picked it up surprisingly quickly and was soon able to make some adjustments so my bead weaving was straighter.

The first couple of necklaces I made, I emulated the style in the magazine, with more spaced-out "flags". I liked how it looks, but I also wanted to add my own spin on it and make it more "my own". The next one I made, I attached each flag with a jump ring between and I much preferred that!

First necklace I made with spaced flags.
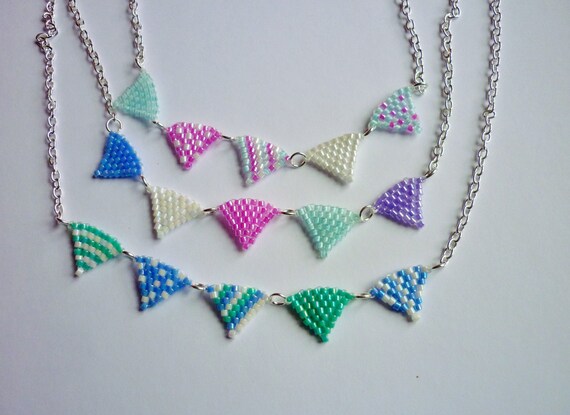

Then I decided I liked them like this more!

After mastering the triangular flags, I thought I'd try something a little more seasonal. Valentine's Day is just around the corner, so I found a tutorial for brick stitch hearts! The heart bunting necklace was then made! I love the solid colours of them. They remind me of LoveHeart sweets!
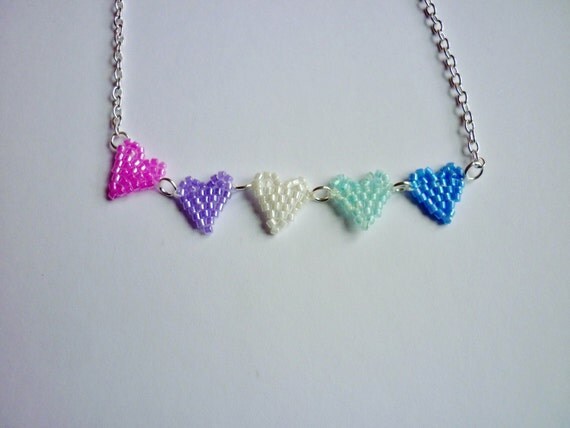
Available in 3 colours!

If you're interested in purchasing one of these necklaces, check out my Etsy shop!

Wednesday, 11 December 2013

My Experience With Needle Felting!

In celebration of Small Business Saturday, which was Saturday 7th Dec, I was asked by my new place of work if I'd like to do a needle felting demonstration. I said I'd love to but the small problem was that I'd never needle felted in my life before! I'd seen masterpieces by various very talented crafsters on Etsy and I'd wanted to give it a go for ages!


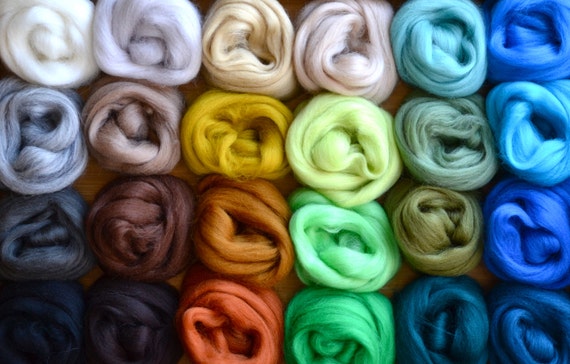
So needle felting begins life as roving, or wool before it's been spun into yarn. It's extremely soft and very easy to pull apart. I love just feeling the softness of the roving! You can buy it in such an array of colours, you'll never be short of inspiration!


The needle used when needle felting is very different to a sewing needle! It is much longer in length and is thicker than a lot of sewing needles. When you look at it closer, the felting needle has little barbs on it to catch the roving and to make it felt quicker.


To start making a bead, roll the wool around on itself as tightly as you can. The tighter you make the initial shape, the less stabbing you have to do! Wrap the roving around the first roll, alternating in direction so you have a nice spherical shape. It's so tempting to add a lot of roving to get it done quicker, but it ultimately means you have to felt it more!

Before you start to stab, ensure that you have some thick foam, like upholstery foam, otherwise you'll damage the surface that you're working on!

Holding the roving ball between your thumb and first finger, stab the ball with your needle in between your finger and thumb. You're almost guaranteed to stab yourself a couple of times as you needle felt! It's more of a shock than a pain and it doesn't bleed much so don't worry. If you stab between your finger and thumb, you're less likely to injure yourself! Be sure to move the ball around a lot so you get a nice, smooth shape.


Here is my little needle felted bead! If you want to make it into a bead, read on. If not, decorate by however you want by sewing on seed beads or sequins and a normal sewing needle!

To make your little ball of felt into a bead, you'll need a shape stick. I used a metal kebab skewer but an awl would probably work better. Force the awl (or whatever you're using) through the felted ball to create the bead-hole. I left the bead on the skewer as I sewed on seed beads so I knew I wasn't sewing through the bead-hole.

Thread beads onto elastic and voilĂ ! A lovely needle felted bead bracelet :) To make sure all your beads are the same size, you can weigh the roving before you start rolling and felting. This will ensure they're all the same size!

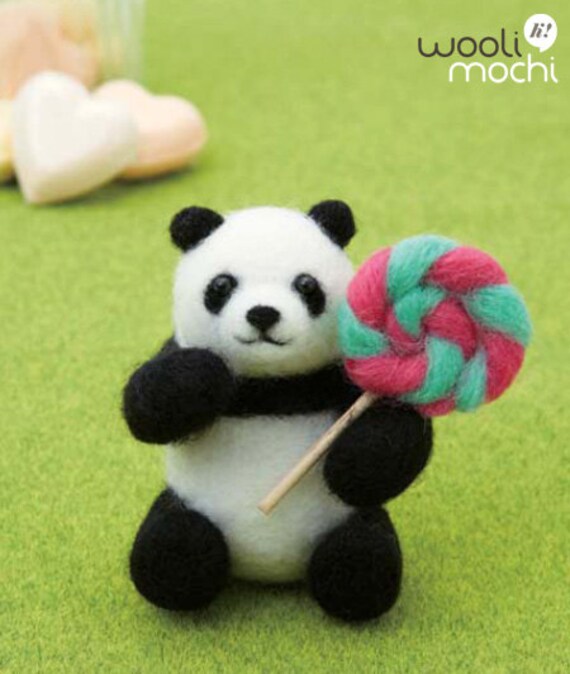
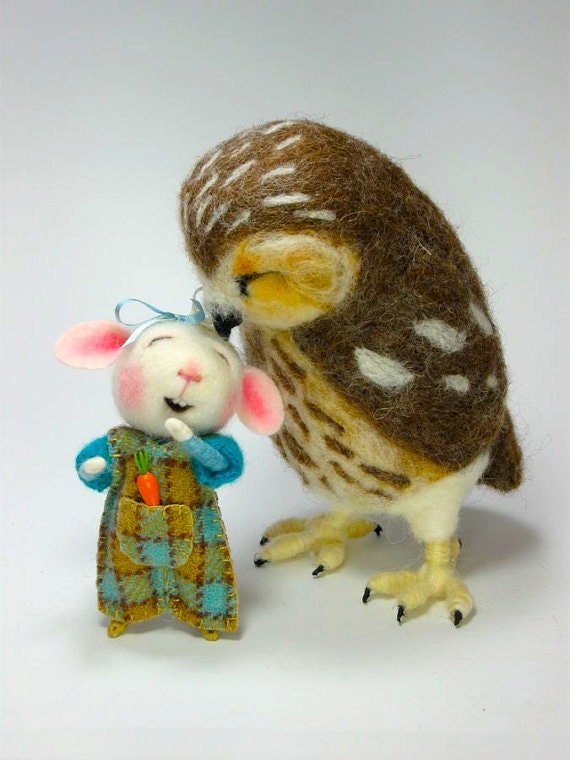
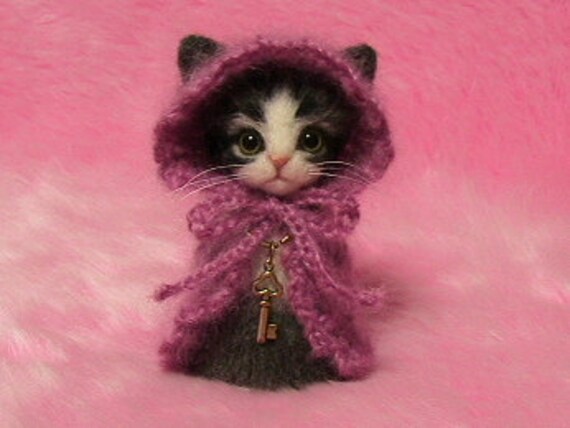
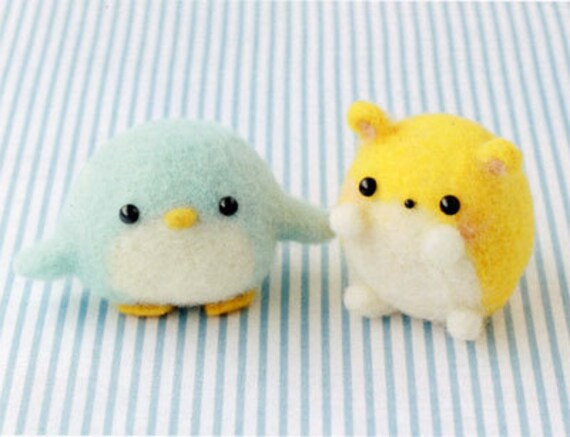
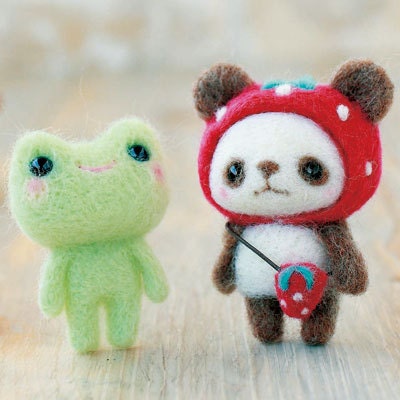
Here are some great examples of needle felting!


I hope you're all sufficiently inspired to get needle felting now :) It's so therapeutic and soothing!