Showing posts with label wool. Show all posts

Saturday, 21 December 2013

Pattern Herd: Last-Minute Crochet Christmas Decorations!

So your house may be decorated by now. If it's not, you'd better get a move on! There's less than a week to go until the big day!

If you received a surprise gift from someone and don't know what to give back, these decorations won't take long for you to whip up for panic-presents or even labels for presents!!


These little gingerbread houses are gorgeous and will look at home on most Christmas trees! They don't require a lot of difficult stitches so you'll be able to make them without too much concentration. The free pattern by Ursula Markgraf can be found here.


I made these for one of my friends who lives abroad because they're so lightweight. I managed to get it down to making one in 10 minutes. The pattern uses basic stitches and also doesn't require a lot of concentration. Perfect to do while watching a Christmas film! The free pattern by Marianna can be found here :)
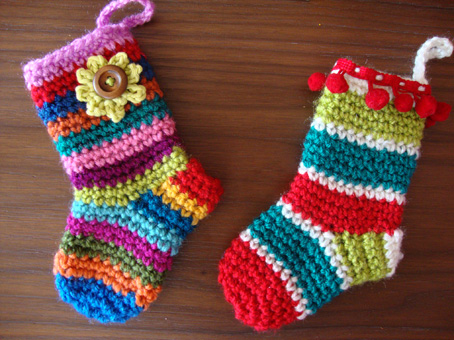

Look at how cute these little sockies are! These could be hung on the tree with little chocolate in for your guests. The stockings are easy to make, but they will require a little more concentration to make the first one than the other patterns I have written about! They are very easily customisable by adding different embellishments. The free pattern by Le Monde de Sucrette can be found here.


These's little bells are adorable! They'll make any tree look that little bit more Christmassy! There is both an English and a Spanish pattern for these bells. If you keep scrolling down, you'll get to the English version! Free pattern by "Crafteando, que es gerundio" can be found here.
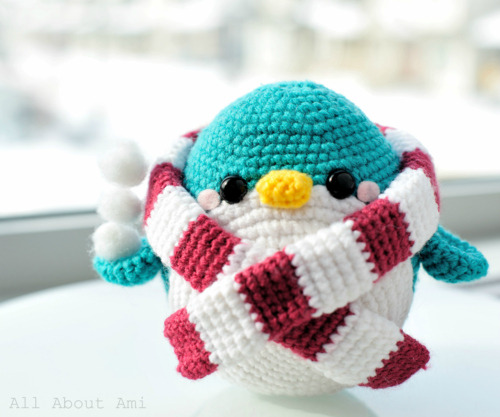

This little guy will take a little more time and dedication than the other patterns I have posted. It's worth it though; look at his little face!! He looks so snuggly and warm with his stripey scarf too. The free pattern by All About Ami can be found here.


I know I've already done a pattern-herd of snowmen, but we're just going to have a slight overlap! This happy bunch can be made in no time and you can give each one its own personality. Perfectly customisable for your recipient! Living The Craft Life provides this free pattern.
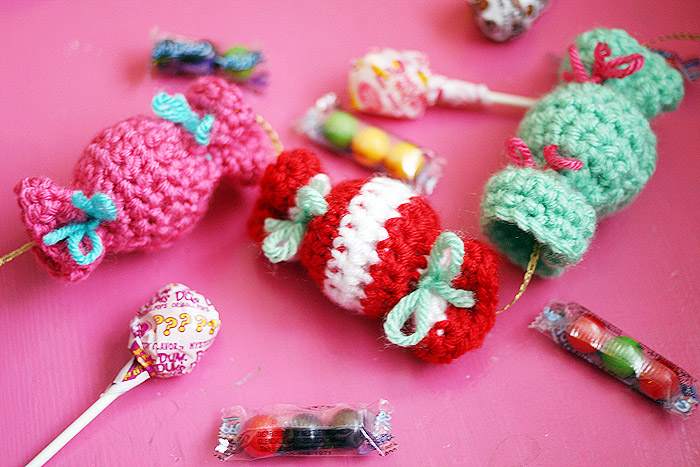

These bundles of deliciousness are the creation of Twinkie Chan, who is renowned for making food-based crochet items! Using a polestyrene ball, these crocheted sweets are oh-so easy to make! They consist of a square, which you then shape into the sweet. This free pattern, complete with video tutorial, can be found on Twinkie Chan's blog, here.

Well I can't exactly write about Christmas decs without Father Christmas (or whatever name he is known by in your family)! This cute FC will stil proudly on any Christmas tree! The free pattern, which isn't too difficult, is by Pebie and can be found here.

I hope that this post has given you some last-minute decoration ideas! Let me know what your go-to pattern is for an unexpected present!

Wednesday, 11 December 2013

My Experience With Needle Felting!

In celebration of Small Business Saturday, which was Saturday 7th Dec, I was asked by my new place of work if I'd like to do a needle felting demonstration. I said I'd love to but the small problem was that I'd never needle felted in my life before! I'd seen masterpieces by various very talented crafsters on Etsy and I'd wanted to give it a go for ages!


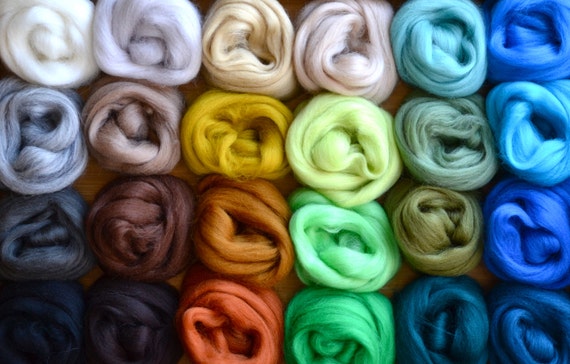
So needle felting begins life as roving, or wool before it's been spun into yarn. It's extremely soft and very easy to pull apart. I love just feeling the softness of the roving! You can buy it in such an array of colours, you'll never be short of inspiration!


The needle used when needle felting is very different to a sewing needle! It is much longer in length and is thicker than a lot of sewing needles. When you look at it closer, the felting needle has little barbs on it to catch the roving and to make it felt quicker.


To start making a bead, roll the wool around on itself as tightly as you can. The tighter you make the initial shape, the less stabbing you have to do! Wrap the roving around the first roll, alternating in direction so you have a nice spherical shape. It's so tempting to add a lot of roving to get it done quicker, but it ultimately means you have to felt it more!

Before you start to stab, ensure that you have some thick foam, like upholstery foam, otherwise you'll damage the surface that you're working on!

Holding the roving ball between your thumb and first finger, stab the ball with your needle in between your finger and thumb. You're almost guaranteed to stab yourself a couple of times as you needle felt! It's more of a shock than a pain and it doesn't bleed much so don't worry. If you stab between your finger and thumb, you're less likely to injure yourself! Be sure to move the ball around a lot so you get a nice, smooth shape.


Here is my little needle felted bead! If you want to make it into a bead, read on. If not, decorate by however you want by sewing on seed beads or sequins and a normal sewing needle!

To make your little ball of felt into a bead, you'll need a shape stick. I used a metal kebab skewer but an awl would probably work better. Force the awl (or whatever you're using) through the felted ball to create the bead-hole. I left the bead on the skewer as I sewed on seed beads so I knew I wasn't sewing through the bead-hole.

Thread beads onto elastic and voilĂ ! A lovely needle felted bead bracelet :) To make sure all your beads are the same size, you can weigh the roving before you start rolling and felting. This will ensure they're all the same size!

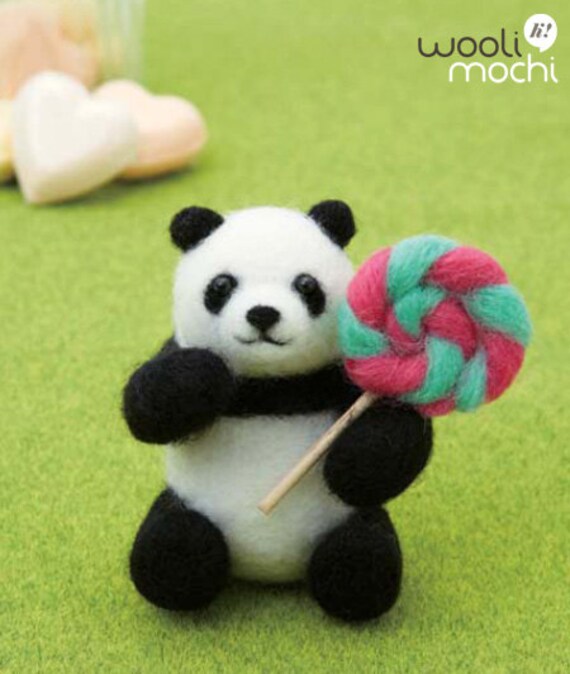
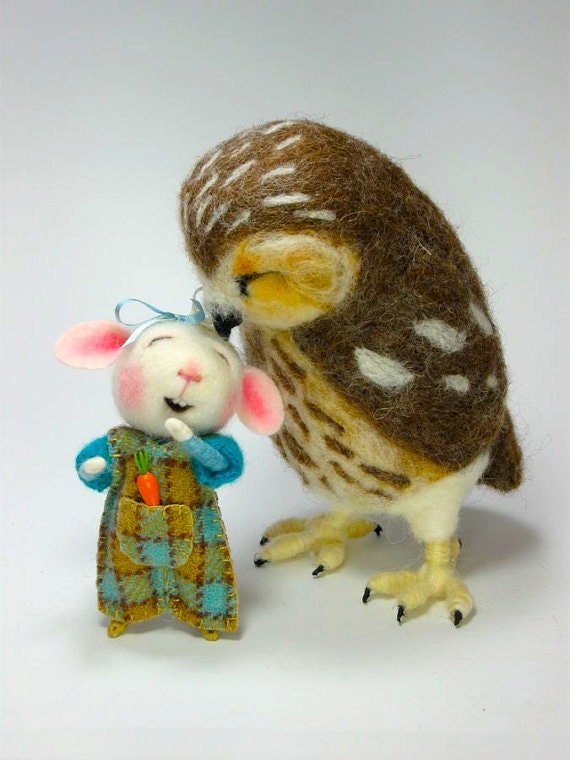
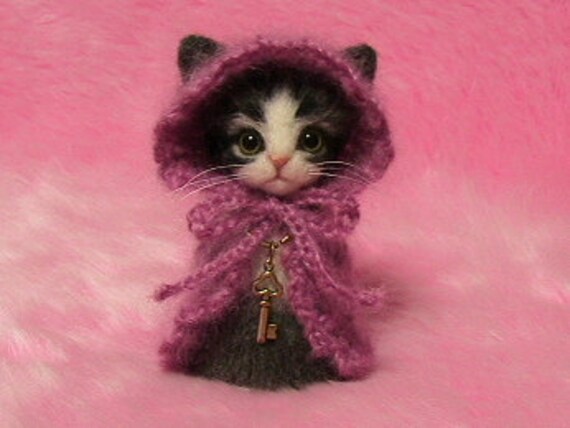
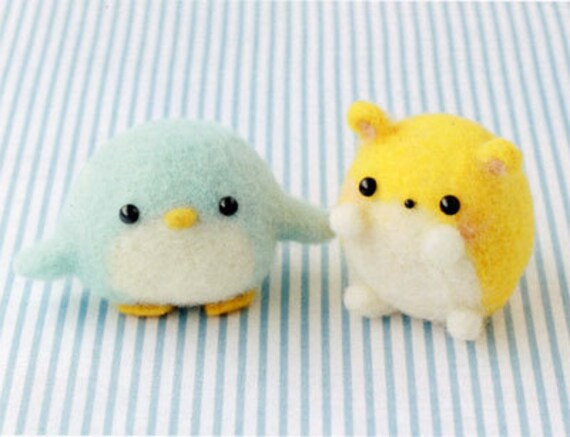
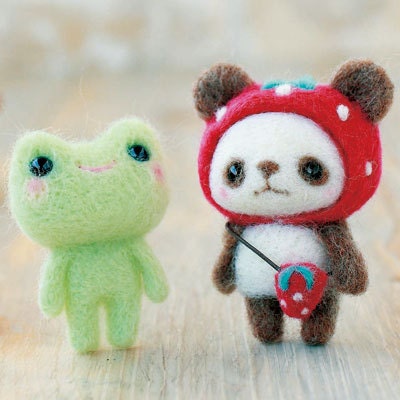
Here are some great examples of needle felting!


I hope you're all sufficiently inspired to get needle felting now :) It's so therapeutic and soothing!