
If you'd like to know more about the year of the horse and what it all means, I have found a handy dandy link here. I don't know if I 100% agree with what it's saying as I can't apply some of the characteristics to myself, but I guess some of them are true!
Anyway, enough of that. You're here for a pattern herd (ironic as it's for horses) not for whether I always want to be in the limelight or if I'm great at communicating!
1) Amigurumi Horse by Tanya on Little Things Blogged

I love this horse! I love its bright blue colour. Guaranteed to stand out in a herd. He has an amazing oversized head and a lovely long, white mane. This pattern is available for free on Little Things Blogged.
2) Carousel Horse Pattern by BeadedBundles
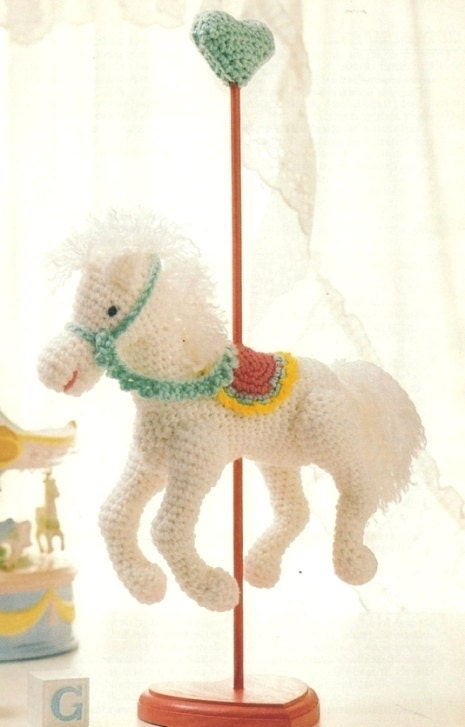
I love carousels. My friend and I always go on one if there's one around when we're together! It's a tradition that started on Brighton seafront and has just continued. This carousel horse reminds me of these times and I love its simplicity. The pattern is available for download on Etsy.
3) Brown Pony Pattern by April Draven
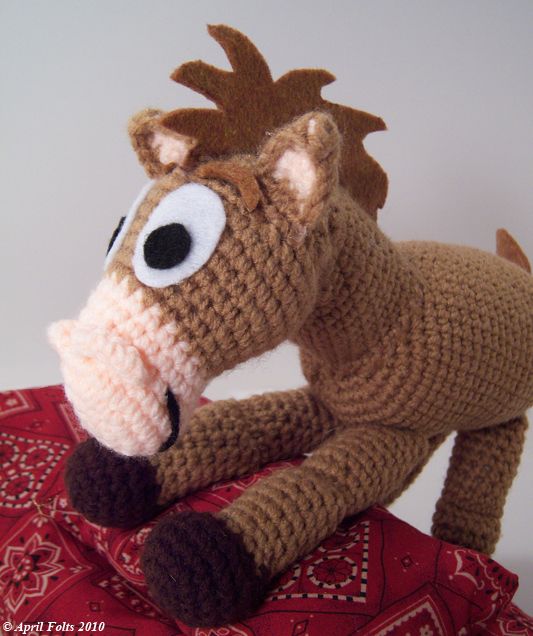
This "brown pony" looks suspiciously like Bullseye from Toy Story 2 and 3! I suppose for copyright reason the name wasn't used... But if you know a Toy Story fan, or you are one, then this pattern is perfect for you! It is available for free on April Draven's blog :)
4) Hermione the Unicorn by Dawn Toussaint
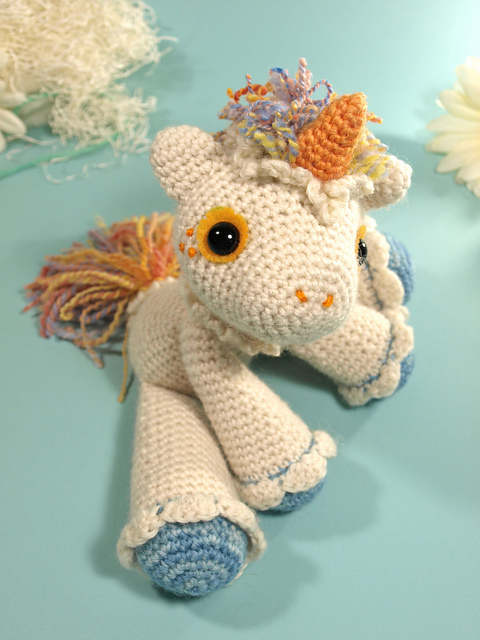
I guess this pattern isn't strictly a horse, but it's a type of horse! And look at her gorgeous little face. It's difficult not to include her! A beautiful unicorn with a rainbow mane and lovely blue feet! The pattern is a free Ravelry download: http://www.ravelry.com/patterns/library/hermione-the-unicorn
5) Pony Pattern by All About Ami
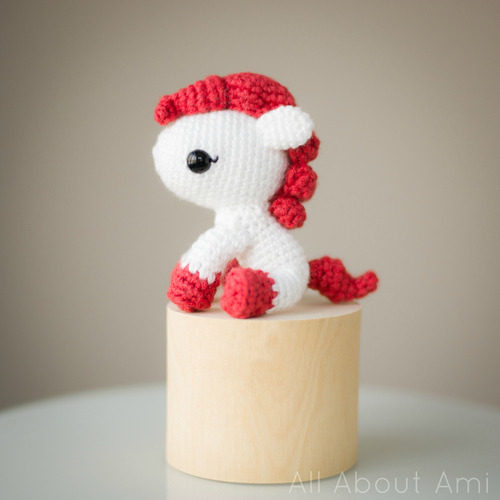
Another pattern that was made to commemorate the year of the horse, All About Ami has designed this cute little pony that could easily be adapted into a unicorn, although she is gorgeous just as she is! The pattern is available for free on All About Ami.
6) Pony Hat by NyanPon

Ah! I want one in every colour! I love this hat, it looks so snuggly and warm. Perfect, especially as it snowed here (Nottingham, UK) yesterday! We are not used to that. I love the individuality of this hat. Definitely will stand out from the crowd in this. This pattern is available for free on NyanPon's blog.
That's it from this pattern herd! If there's anything you'd like to see "herded", leave a comment!


