Showing posts with label Friendship Bracelets for Beginners. Show all posts

Monday, 20 January 2014

Friendship Bracelets for Beginners pt. 4: Backwards Knot

This knot is the one that some people get a little confused with, but I promise that it's not that hard, especially because you know the forwards knot so well now after making the candy stripe bracelet :)

The backwards knot is a very useful one to know as you'll be able to make all sorts of interesting shapes and patterns within the bracelet once you know this knot!

I'm starting with my threads in the same way as I did for the forwards knot, like so:


This means I will be tying the backwards knot with the green thread.


Holding the yellow thread taut, make a backwards "4" shape with the green thread.
Pull the tail through the loop you've just made and pull tightly.
Repeat the process...

... And that's the mystery behind the backwards knot solved!!

Now you know both forwards and backwards knots, you will be able to make chevron bracelets! I will explain how to make these bracelets in the next post of the "series" :D

Friday, 17 January 2014

Friendship Bracelets for Beginners pt.3: Candy Stripe Bracelet!

YAY! You have mastered the forwards knot! I'm so pleased because you're already equipped to make a basic bracelet!

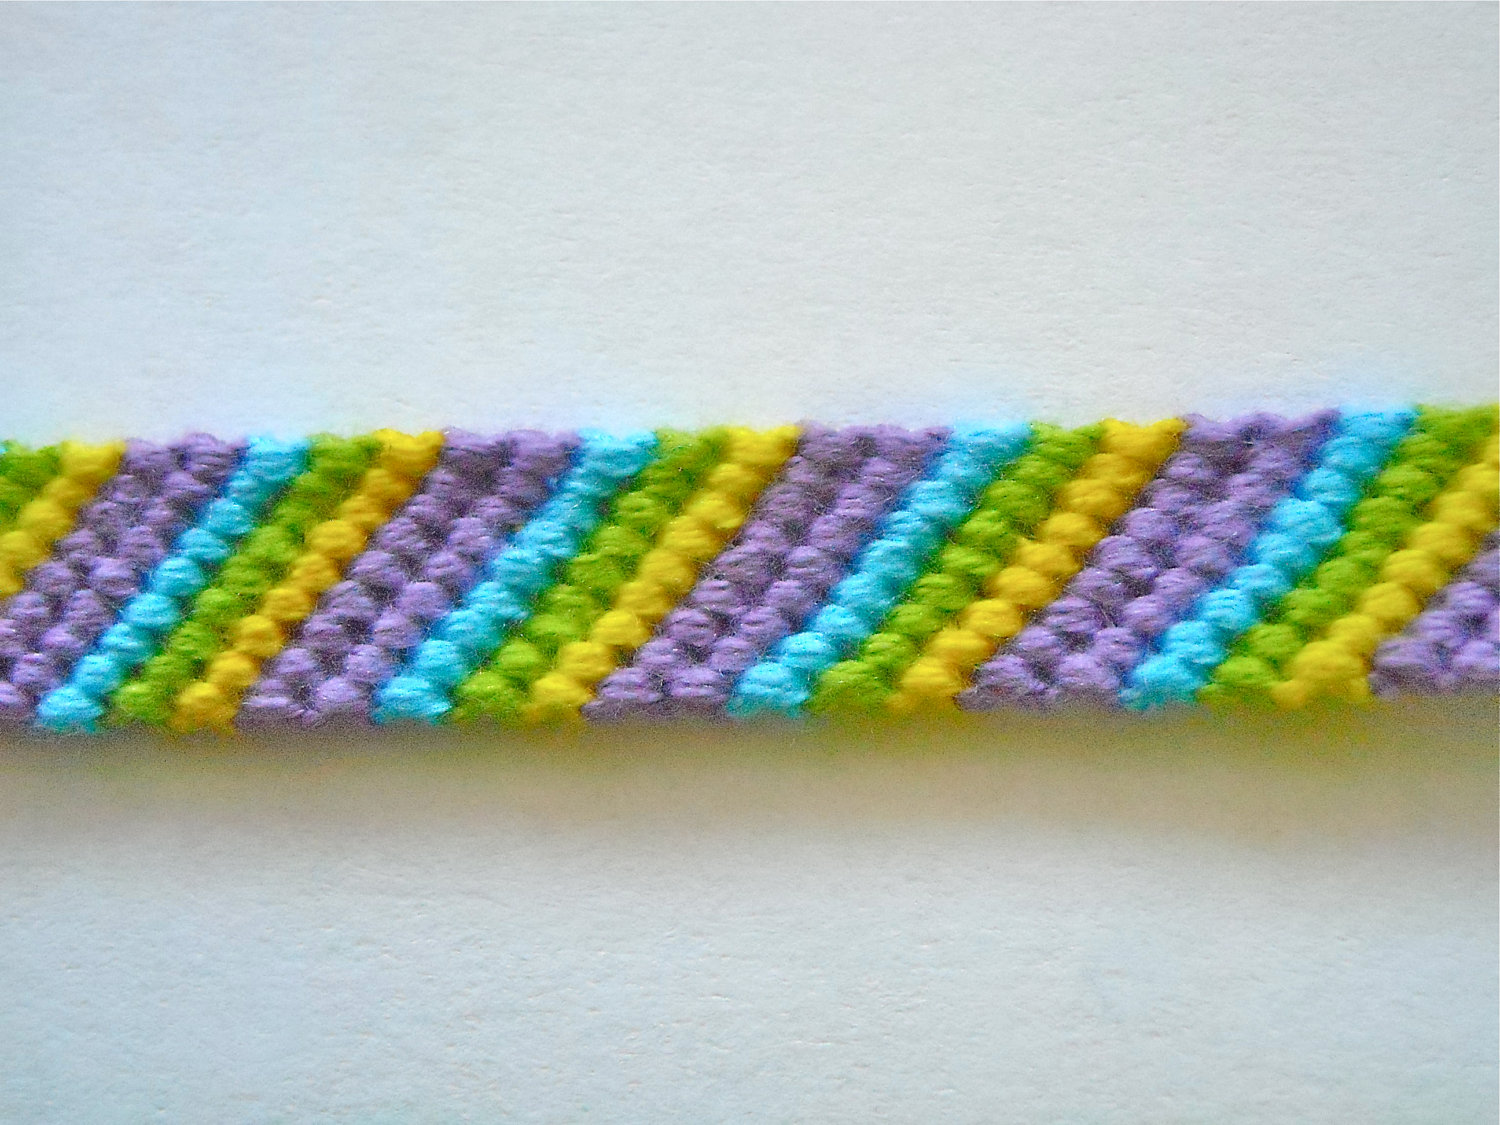
I'm sure you have seen candy stripe bracelets before - they're the stripy friendship bracelets!


As you can see, you can use any colour combination, the coloured stripes can be varying thickness etc. As my dad says, the world is your lobster! You'll be shocked at how easy they are, and I'm a little embarrassed to dedicate a blog post to it!!

I will only be using two colours for this tutorial, although I am using 8 strings. To start a bracelet of this thickness, cut 4 lengths of approx. 1m of each colour. You will then want to knot them together and plait a length of them so you are able to tie it. Tie another knot at the end of the plaited section and lay them out, alternating like so:


Starting with your first colour, which for me is blue, tie a forwards knot (see here if your memory needs refreshing) onto the yellow thread. Be sure to tie each knot tightly to have even knotting! Continue tying forwards knots down the rest of the strings until the first thread is now the last. (My first row of knots always looks wobbly, so don't worry if yours do too! The next row will be better, I promise.)


Now you want to take your second thread (for me, yellow) and knot another row of forwards knots, like you've just done. (See? I said the second row would be neater :) )


Continue to tie rows of forwards knots until your bracelet reaches the desired length. I always go for a little bit shorter than once around my wrist.


Tie a knot and plait the threads together, so it's the same length as the plait at the beginning. Tie one final knot, trim the ends and wear your bracelet with pride!!


Go and try your threads in different orders to get different looks.


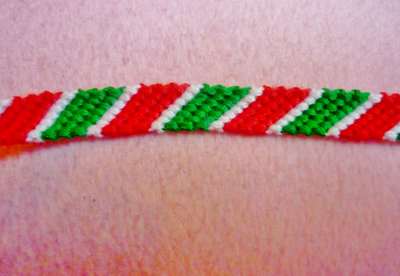
This bracelet I made, I used 3 strands of each colour, except for white, which I only used 2 of.. I spaced them out like GGG W RRR W. I knotted the them the same way as above.

Thursday, 9 January 2014

Friendship Bracelets for Beginners Pt 2: The Forwards Knot

Now you've gathered all of the equipment you will need, I expect you're itching to get started! Some patterns will say the measurements for the threads you use, but many also don't. For basic bracelets, it's usually best to go for 1m per thread. When you are first starting to make bracelets, it's better to have too much thread than too little!

I usually knot my bracelets at the top and plait the threads together so they are easy to tie. I also make a loop at the top as an alternative joining method. You will have to do this before you start to knot the bracelet.

There are 4 knots that you will need to know to make friendship bracelets:

  • Forwards knot
  • Backwards knot
  • Forwards Backwards knot
  • Backwards Forwards knot
I know they may sound very confusing, but they're really not, don't worry!! Most patterns have symbols for these knots which are as follows (order the same as list above!):

(Image from Bracelet Book)

In this post, I will be showing you how to do the forwards knot.. For each of the tutorials, the threads will start with the same set up:


I will be using the yellow thread to tie to forwards knot.


1. Create a loop by laying the yellow thread over the green.
2. Pull the tail of the yellow thread through the loop.
3. Pull the knot tight.
4-6 repeat the first three steps and that's your first knot made!!

See? I said it wasn't too difficult :) If you prefer, I have found a video by the very-talented BeyondBracelets on YouTube, which you can go to if you click here.

Now you have that knot under your belt, you will be able to make a candy stripe bracelet, which I will show you how to make in my next Friendship Bracelets For Beginners post!

Monday, 23 December 2013

Friendship Bracelets for Beginners! Pt 1: Equipment

A lot of people look at the friendship bracelets that I make and think that I'm extremely clever and talented. I mean, they're not wrong (just kidding!), making friendship bracelets isn't actually difficult, once you learn the basic technique! In this blog post, I will only be covering what equipment you will need to make the bracelets. Please keep checking back for when the following parts come!

Here's just a selection of bracelets I have made :)

Friendship bracelets never seem to go out of fashion and been around for centuries. BraceletBook.com has a very good history of friendship bracelets, which I will link here for anyone who's interested. This type of bracelet are heavily associated with Native American culture, although BB explains that knot-tying crafts have their origins in all corners of the globe!

Friendship bracelets tend to be made with embroidery thread and they use a basic macramé knotting technique to create the intricate patterns and you can use as many colours and threads as you like!

But let's not get ahead of ourselves.

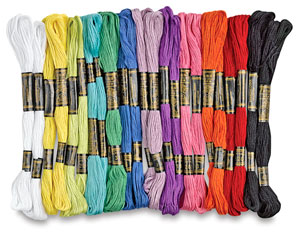
I suppose the most important thing that you'll need is embroidery thread. This can be purchased relatively inexpensively, if you shop in the right places. Many craft shops will have high-quality thread, which is great, but can be pricey. Once you learn how to make the bracelets and know it's something you want to do a lot of, treat yourself to some high quality thread! For beginners, I would recommend buying cheaper thread. You're going to go wrong, you're going to throw your bracelet across the room and chop the top off. It's going to happen!


It is necessary to use the same thickness of thread within one bracelet to achieve the even surface.

I live in the UK, so I can speak with confidence about where to buy cheaper thread for from here! PoundLand sells a pack of embroidery thread for £1. I think that there are 12 skeins of thread in each packet, so that's a definite bargain! The Works also sometimes has embroidery thread, although it has a shinier finish than the PoundLand thread. Just keep an eye out for it! I guarantee that you will very quickly build a mighty collection!

I recommend getting a little box like this to keep your threads organised:

otherwise you'll end up with something like this, which is difficult to detangle:


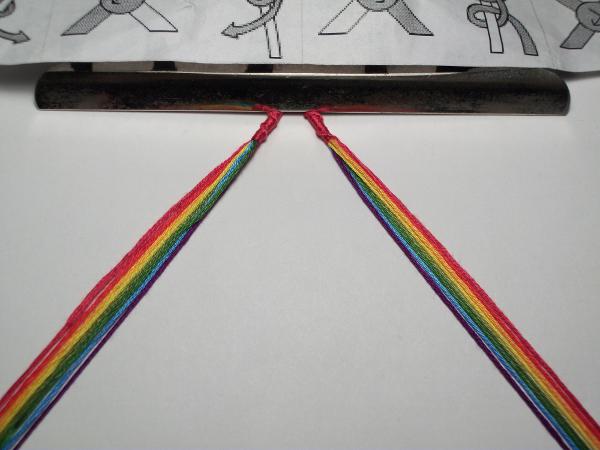
You will want your threads to be taught as you make your bracelet to ensure tight, even knots. There are a couple of ways to do this. I find it easiest to use a safety pin through the knot, pinned onto a cushion. Some people prefer to use a clipboard or just Sellotape on the table to keep the bracelet still. Have a play around and see what works best for you.

  Source
This is how I make my friendship bracelets :)

Scissors are naturally going to be necessary to cut the threads with!

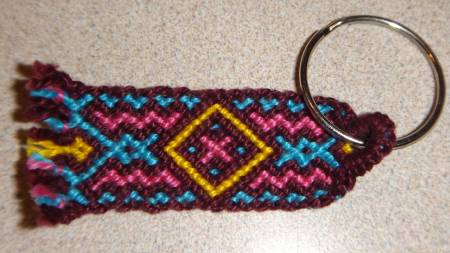
Those are the basic "ingredients" you will need to make a friendship bracelet, but believe me, you can do all sorts with them! You can attach beads onto the bracelet as you go for a different finish, or you can add your creation onto a split ring to make a keyring!


Stay tuned for the next parts of Friendship Bracelets for Beginners :D Feel free to ask any questions and I will be more than happy to answer them.