Showing posts with label bracelets. Show all posts

Sunday, 7 June 2015

How Do I Make Seed Bead Bracelets?

There are SO many different ways to incorporate seed beads into bracelet making, and not all of them involve bead weaving! I was asked on one of my recent videos to make a tutorial demonstrating how to make a "seed bead and wire bracelet", so I naturally obliged. The thing is, I didn't want to just do a basic stringing bracelet, I wanted to spice it up a little bit.


I made three different bracelets, that all use very similar techniques, but look different from each other. And, much like with many of my tutorials, they look a lot more complicated than they actually are, which is a delight!


The first bracelet, I think, is the easiest of the three. It only requires basic stringing, attaching necklace ends and then adding chain. Don't be intimidated by jewellery making! If the first thing you make doesn't look perfect, then persist! You'll get the hang of it :)


The second bracelet I saw on Pinterest and just knew that I had to make a tutorial on it! It's super cute and looks a little like an infinity symbol. Once again, this bracelet uses the same techniques listed above, but they're then looped together to make the knot in the middle. So effective, and not difficult at all!


Pinterest is clearly the place where I find all my inspiration, as this bracelet was found on there too! A tutorial had been made on how to made a necklace with a portion that was plaited seed beads, and I decided that I wanted to make a bracelet version! It does follow all the same steps as above, but with some added braiding. It looks so good! I wore it to work and received so many compliments :)


What's your favourite way to use seed beads in jewellery making?

Saturday, 17 May 2014

New Bracelets!

I treated myself on Saturday. I bought myself a bead loom from where I work and have had a lot of fun making bracelets on it! I'm getting quite speedy at it now :)

Don't mind my very-fetching pyjama trousers!
This is my first attempt. I made it while watching Eurovision (which was wonderful, as always) and it looks so 80's! I do love it though. Sewing all the ends in took me such a long time though, and I didn't even do it that neatly :/ Then I wrongly tried to add the ribbon end on, to attach my clasp on, and broke a couple of the beads... oops! I managed to salvage the rest and just sewed the clasps on, but I now know for next time!


I watched a very useful video where crochet cotton was used instead of thread for the warp of the loom. Then the ends of the bracelet could be braided and tied on the wrist that way, instead of bothering with a clasp. Because I have become obsessed with making doilies, I had treated myself to some crochet cotton and decided to give it a shot.


I love the finish of these bracelets. They're a lot more laid back, and I can charge less for them because I don't need to spend so long sewing in the ends of the bracelet!

I'm using a thinner crochet cotton with this bracelet.
And now for some better photos:


Have you ever tried using a bead loom? If so, what's your favourite warp thread to use?

Wednesday, 9 April 2014

Blast from the Past: Friendship Bracelets I Have Made

I really love making friendship bracelets. Before starting The Corner of Craft's Etsy shop, I had another small business: Banana Bracelets! These bracelets are all available still at http://bananabracelets.storenvy.com! I'm yet to move them all across to my new shop :) I thought I would share some of my favourite bracelets with you.


I hope that you like this selection of bracelets! They're so much fun to make and very therapeutic :)

Monday, 20 January 2014

Friendship Bracelets for Beginners pt. 4: Backwards Knot

This knot is the one that some people get a little confused with, but I promise that it's not that hard, especially because you know the forwards knot so well now after making the candy stripe bracelet :)

The backwards knot is a very useful one to know as you'll be able to make all sorts of interesting shapes and patterns within the bracelet once you know this knot!

I'm starting with my threads in the same way as I did for the forwards knot, like so:


This means I will be tying the backwards knot with the green thread.


Holding the yellow thread taut, make a backwards "4" shape with the green thread.
Pull the tail through the loop you've just made and pull tightly.
Repeat the process...

... And that's the mystery behind the backwards knot solved!!

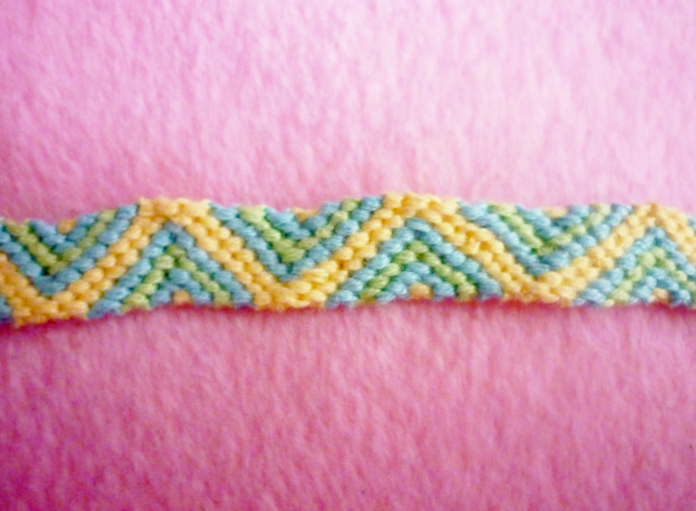
Now you know both forwards and backwards knots, you will be able to make chevron bracelets! I will explain how to make these bracelets in the next post of the "series" :D

Monday, 23 December 2013

Friendship Bracelets for Beginners! Pt 1: Equipment

A lot of people look at the friendship bracelets that I make and think that I'm extremely clever and talented. I mean, they're not wrong (just kidding!), making friendship bracelets isn't actually difficult, once you learn the basic technique! In this blog post, I will only be covering what equipment you will need to make the bracelets. Please keep checking back for when the following parts come!

Here's just a selection of bracelets I have made :)

Friendship bracelets never seem to go out of fashion and been around for centuries. BraceletBook.com has a very good history of friendship bracelets, which I will link here for anyone who's interested. This type of bracelet are heavily associated with Native American culture, although BB explains that knot-tying crafts have their origins in all corners of the globe!

Friendship bracelets tend to be made with embroidery thread and they use a basic macramé knotting technique to create the intricate patterns and you can use as many colours and threads as you like!

But let's not get ahead of ourselves.

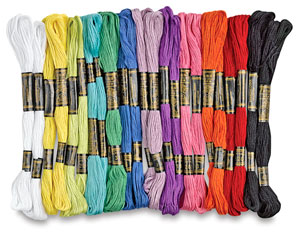
I suppose the most important thing that you'll need is embroidery thread. This can be purchased relatively inexpensively, if you shop in the right places. Many craft shops will have high-quality thread, which is great, but can be pricey. Once you learn how to make the bracelets and know it's something you want to do a lot of, treat yourself to some high quality thread! For beginners, I would recommend buying cheaper thread. You're going to go wrong, you're going to throw your bracelet across the room and chop the top off. It's going to happen!


It is necessary to use the same thickness of thread within one bracelet to achieve the even surface.

I live in the UK, so I can speak with confidence about where to buy cheaper thread for from here! PoundLand sells a pack of embroidery thread for £1. I think that there are 12 skeins of thread in each packet, so that's a definite bargain! The Works also sometimes has embroidery thread, although it has a shinier finish than the PoundLand thread. Just keep an eye out for it! I guarantee that you will very quickly build a mighty collection!

I recommend getting a little box like this to keep your threads organised:

otherwise you'll end up with something like this, which is difficult to detangle:


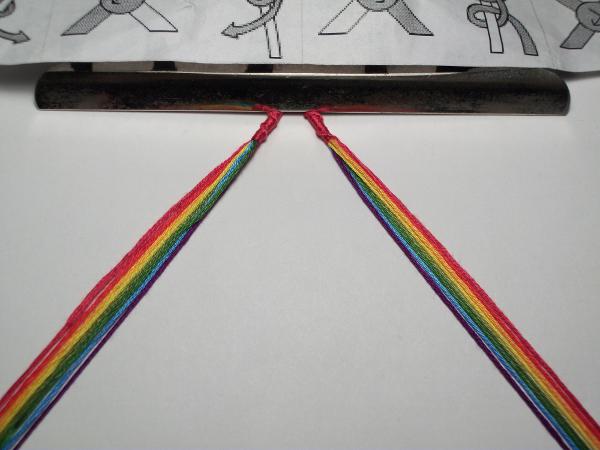
You will want your threads to be taught as you make your bracelet to ensure tight, even knots. There are a couple of ways to do this. I find it easiest to use a safety pin through the knot, pinned onto a cushion. Some people prefer to use a clipboard or just Sellotape on the table to keep the bracelet still. Have a play around and see what works best for you.

  Source
This is how I make my friendship bracelets :)

Scissors are naturally going to be necessary to cut the threads with!

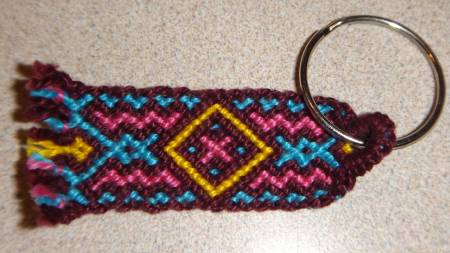
Those are the basic "ingredients" you will need to make a friendship bracelet, but believe me, you can do all sorts with them! You can attach beads onto the bracelet as you go for a different finish, or you can add your creation onto a split ring to make a keyring!


Stay tuned for the next parts of Friendship Bracelets for Beginners :D Feel free to ask any questions and I will be more than happy to answer them.