Showing posts with label help. Show all posts

Wednesday, 5 February 2014

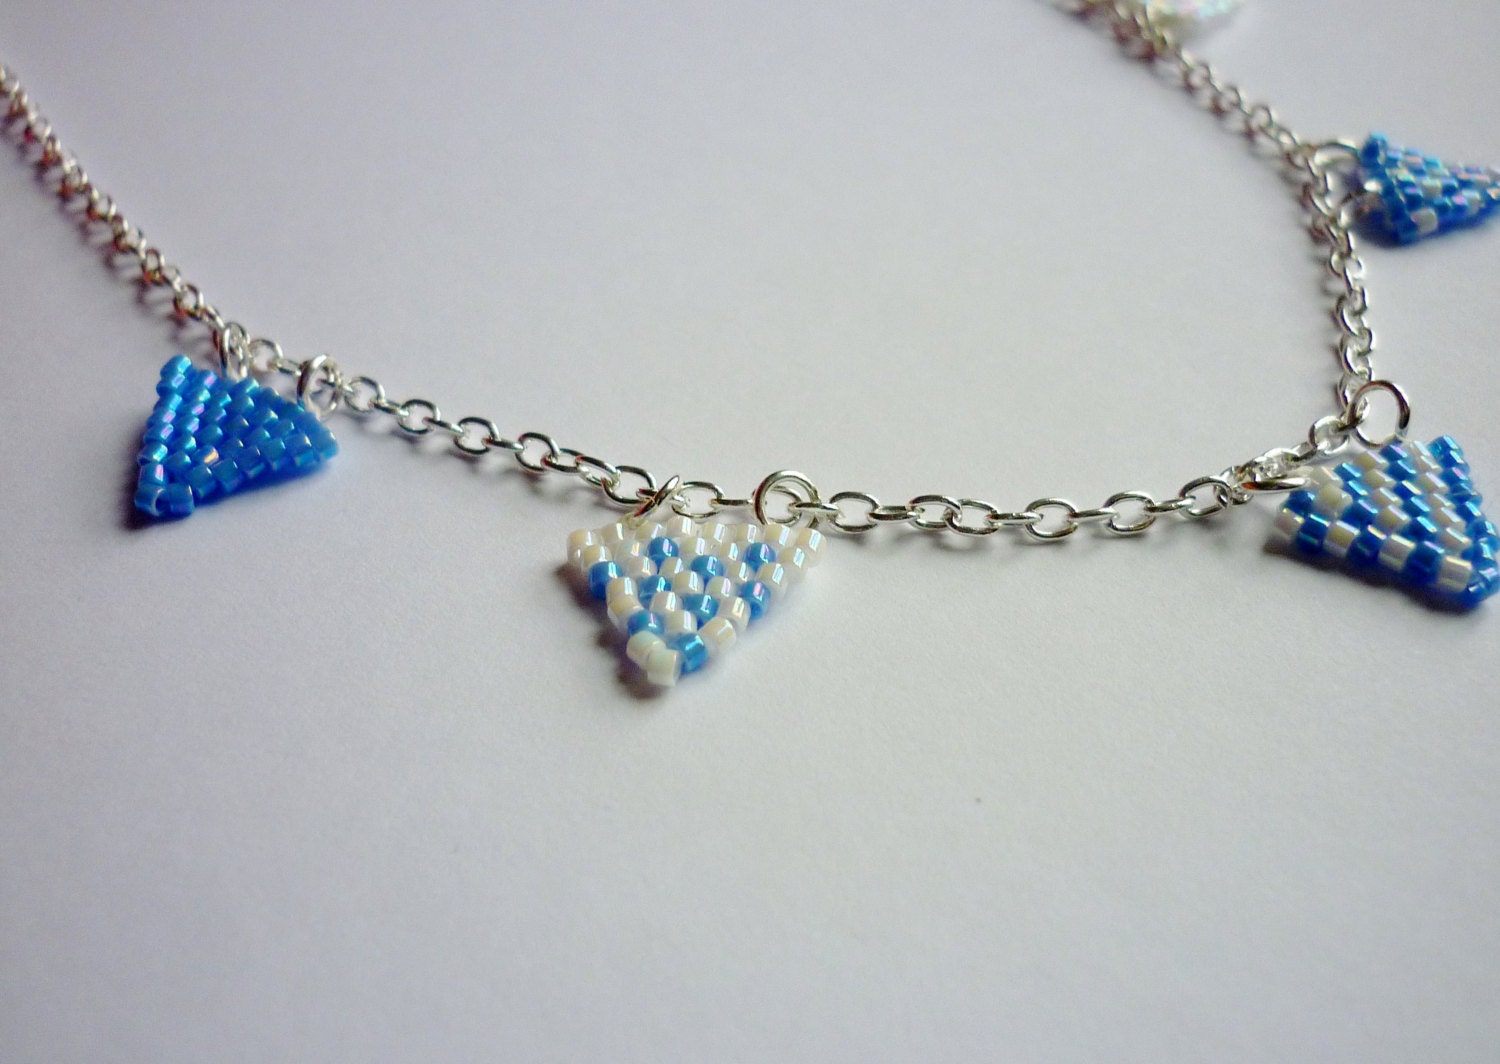
Caring For Silver Plated Jewellery

I thought I would write a post on this because a lot of things I have learnt about caring for silver plated jewellery, I have learnt since starting my job at The Bead Shop! Many things are probably obvious to some people, but I hadn't even thought of them before I was told.

Silver plated jewellery means that the bass metal (which can be copper, brass, steel, pewter, among others) has a thin coating of silver on top of this. This coating wears off over time, but there are ways to slow how quickly it's wearing! Also it's important to remember that all metal tarnishes over time. There are ways to prevent the speed that it happens at and also ways to correct it.


Preventing Fade and Tarnishing

Firstly try to avoid your jewellery coming in contact with moisturisers or perfumes. The chemicals will react with the plating and will cause it to tarnish quicker. Apply the moisturiser or perfume before putting the jewellery on to limit contact.

Keep the jewellery dry. Don't wear the piece if you're going swimming and definitely don't wear it in the shower!

Store the jewellery in a resealable bag, preferably with an anti-tarnish tab, to significantly slow tarnishing time. The bag will limit contact with air the piece of jewellery has. You can buy anti-tarnish tabs online and they're quite inexpensive!


Try not to sleep in it! The tossing and turning in the night will not only add stress to delicate pieces of jewellery, possibly causing them to break, but it may also cause the plating to wear off quicker. We also tend to sweat at night, which will also cause a reaction.

Cleaning Your Jewellery

If your piece of jewellery is tarnished, be sure not to use harsh chemicals to clean it. It is important to clean them often to keep them looking nice and shiny, but the chemicals are designed for "pure" metals instead of the more-delicate plated metal. The chemicals will cause the item to fade!

Instead of chemicals, use a damp cloth, such as a hand towel, and wipe gently. Use a clean towel to dry off the dampness and this should restore its shine.

If you think I've missed anything off, please let me know in the comments!!

Monday, 23 December 2013

Friendship Bracelets for Beginners! Pt 1: Equipment

A lot of people look at the friendship bracelets that I make and think that I'm extremely clever and talented. I mean, they're not wrong (just kidding!), making friendship bracelets isn't actually difficult, once you learn the basic technique! In this blog post, I will only be covering what equipment you will need to make the bracelets. Please keep checking back for when the following parts come!

Here's just a selection of bracelets I have made :)

Friendship bracelets never seem to go out of fashion and been around for centuries. BraceletBook.com has a very good history of friendship bracelets, which I will link here for anyone who's interested. This type of bracelet are heavily associated with Native American culture, although BB explains that knot-tying crafts have their origins in all corners of the globe!

Friendship bracelets tend to be made with embroidery thread and they use a basic macramé knotting technique to create the intricate patterns and you can use as many colours and threads as you like!

But let's not get ahead of ourselves.

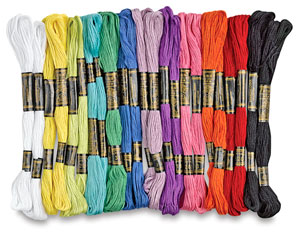
I suppose the most important thing that you'll need is embroidery thread. This can be purchased relatively inexpensively, if you shop in the right places. Many craft shops will have high-quality thread, which is great, but can be pricey. Once you learn how to make the bracelets and know it's something you want to do a lot of, treat yourself to some high quality thread! For beginners, I would recommend buying cheaper thread. You're going to go wrong, you're going to throw your bracelet across the room and chop the top off. It's going to happen!


It is necessary to use the same thickness of thread within one bracelet to achieve the even surface.

I live in the UK, so I can speak with confidence about where to buy cheaper thread for from here! PoundLand sells a pack of embroidery thread for £1. I think that there are 12 skeins of thread in each packet, so that's a definite bargain! The Works also sometimes has embroidery thread, although it has a shinier finish than the PoundLand thread. Just keep an eye out for it! I guarantee that you will very quickly build a mighty collection!

I recommend getting a little box like this to keep your threads organised:

otherwise you'll end up with something like this, which is difficult to detangle:


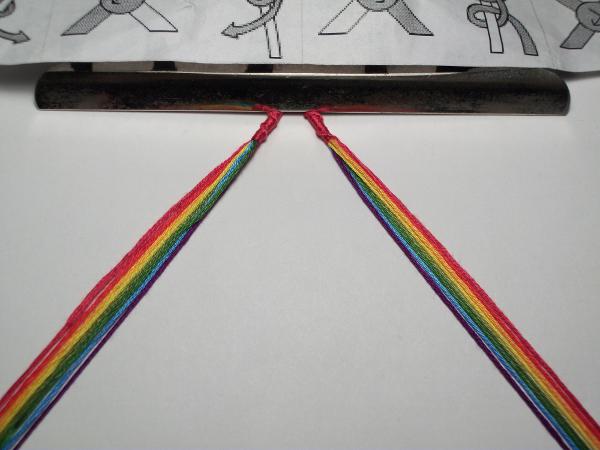
You will want your threads to be taught as you make your bracelet to ensure tight, even knots. There are a couple of ways to do this. I find it easiest to use a safety pin through the knot, pinned onto a cushion. Some people prefer to use a clipboard or just Sellotape on the table to keep the bracelet still. Have a play around and see what works best for you.

  Source
This is how I make my friendship bracelets :)

Scissors are naturally going to be necessary to cut the threads with!

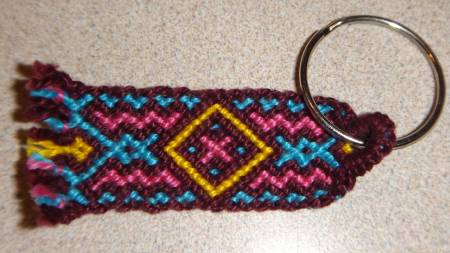
Those are the basic "ingredients" you will need to make a friendship bracelet, but believe me, you can do all sorts with them! You can attach beads onto the bracelet as you go for a different finish, or you can add your creation onto a split ring to make a keyring!


Stay tuned for the next parts of Friendship Bracelets for Beginners :D Feel free to ask any questions and I will be more than happy to answer them.