
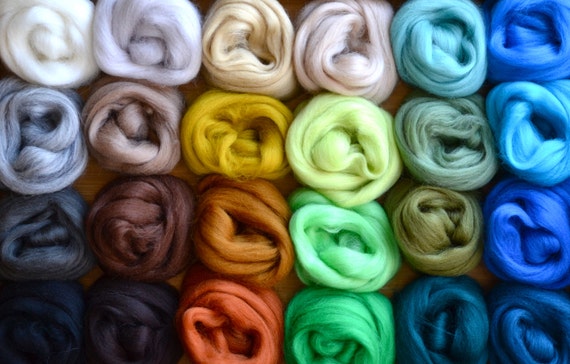
So needle felting begins life as roving, or wool before it's been spun into yarn. It's extremely soft and very easy to pull apart. I love just feeling the softness of the roving! You can buy it in such an array of colours, you'll never be short of inspiration!
The needle used when needle felting is very different to a sewing needle! It is much longer in length and is thicker than a lot of sewing needles. When you look at it closer, the felting needle has little barbs on it to catch the roving and to make it felt quicker.

To start making a bead, roll the wool around on itself as tightly as you can. The tighter you make the initial shape, the less stabbing you have to do! Wrap the roving around the first roll, alternating in direction so you have a nice spherical shape. It's so tempting to add a lot of roving to get it done quicker, but it ultimately means you have to felt it more!
Before you start to stab, ensure that you have some thick foam, like upholstery foam, otherwise you'll damage the surface that you're working on!
Holding the roving ball between your thumb and first finger, stab the ball with your needle in between your finger and thumb. You're almost guaranteed to stab yourself a couple of times as you needle felt! It's more of a shock than a pain and it doesn't bleed much so don't worry. If you stab between your finger and thumb, you're less likely to injure yourself! Be sure to move the ball around a lot so you get a nice, smooth shape.
.JPG)
Here is my little needle felted bead! If you want to make it into a bead, read on. If not, decorate by however you want by sewing on seed beads or sequins and a normal sewing needle!
To make your little ball of felt into a bead, you'll need a shape stick. I used a metal kebab skewer but an awl would probably work better. Force the awl (or whatever you're using) through the felted ball to create the bead-hole. I left the bead on the skewer as I sewed on seed beads so I knew I wasn't sewing through the bead-hole.
Thread beads onto elastic and voilà! A lovely needle felted bead bracelet :) To make sure all your beads are the same size, you can weigh the roving before you start rolling and felting. This will ensure they're all the same size!
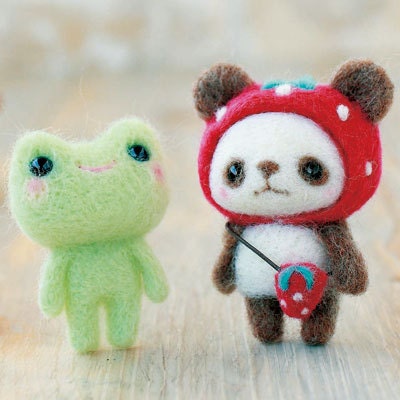
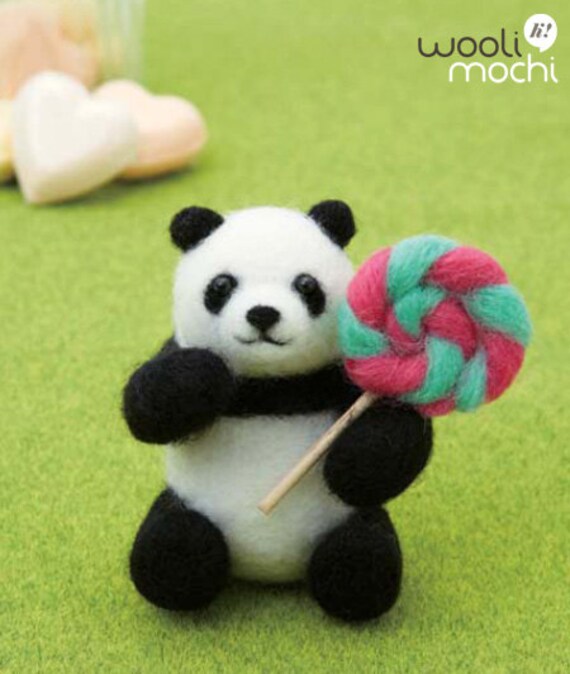
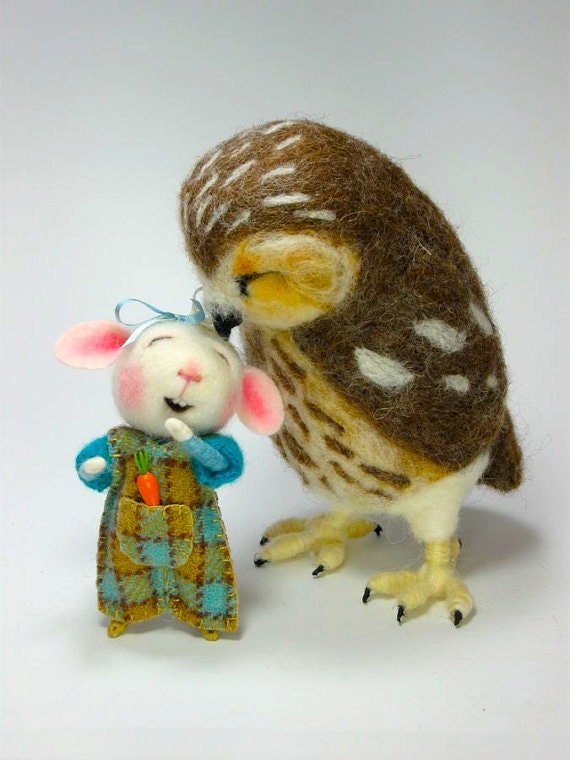
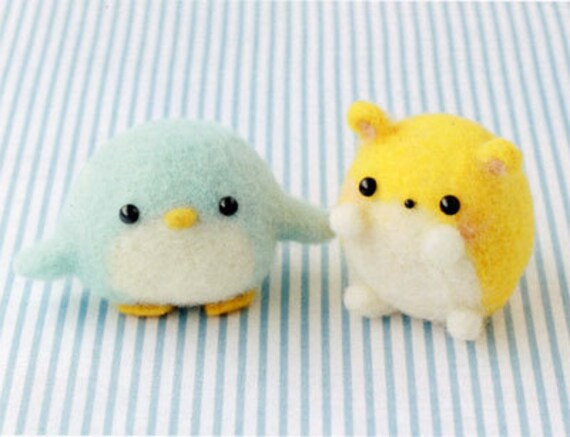
Here are some great examples of needle felting!
I hope you're all sufficiently inspired to get needle felting now :) It's so therapeutic and soothing!
I started needle felting last week - it's addicting and really fun! Glad you enjoy it too. :)
ReplyDeleteThank you for commenting :) I'd love to see some of what you've made!
DeleteNo problem, bloggers gotta help each other out :p
DeleteHere are mine so far: http://thetigerssterne.blogspot.co.uk/p/blog-page_12.html
Yep, only four! ;)