
I'm sure you have seen candy stripe bracelets before - they're the stripy friendship bracelets!

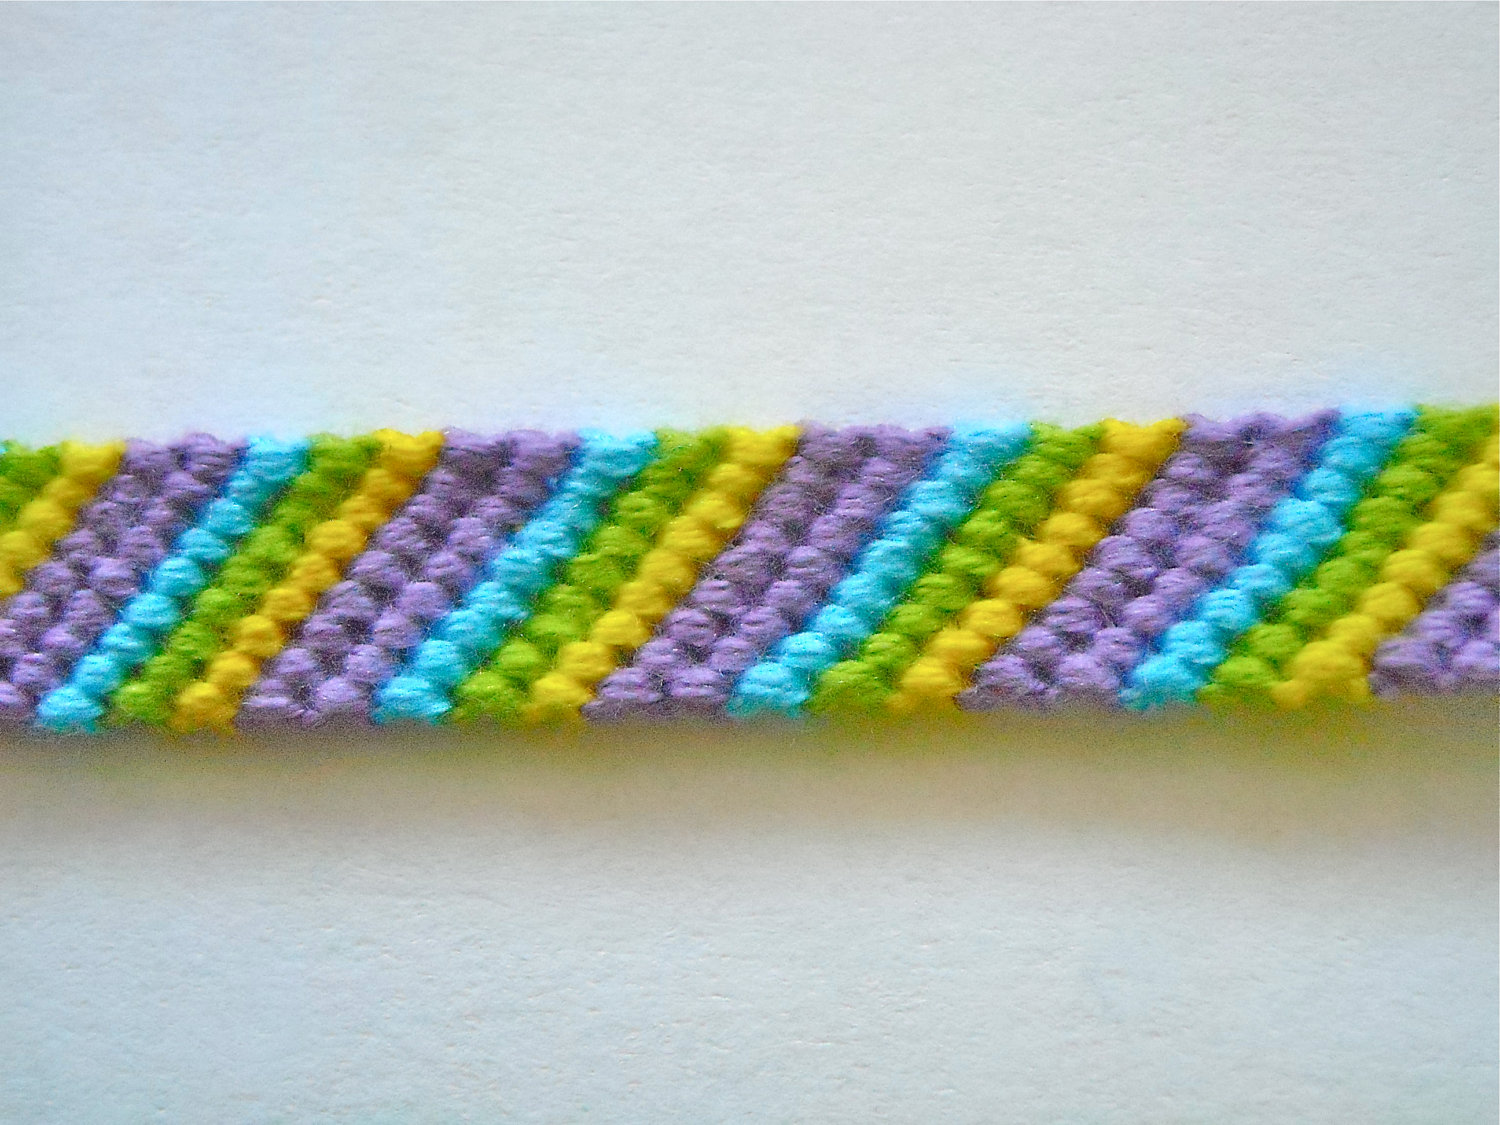
As you can see, you can use any colour combination, the coloured stripes can be varying thickness etc. As my dad says, the world is your lobster! You'll be shocked at how easy they are, and I'm a little embarrassed to dedicate a blog post to it!!
I will only be using two colours for this tutorial, although I am using 8 strings. To start a bracelet of this thickness, cut 4 lengths of approx. 1m of each colour. You will then want to knot them together and plait a length of them so you are able to tie it. Tie another knot at the end of the plaited section and lay them out, alternating like so:

Starting with your first colour, which for me is blue, tie a forwards knot (see here if your memory needs refreshing) onto the yellow thread. Be sure to tie each knot tightly to have even knotting! Continue tying forwards knots down the rest of the strings until the first thread is now the last. (My first row of knots always looks wobbly, so don't worry if yours do too! The next row will be better, I promise.)
Now you want to take your second thread (for me, yellow) and knot another row of forwards knots, like you've just done. (See? I said the second row would be neater :) )


Continue to tie rows of forwards knots until your bracelet reaches the desired length. I always go for a little bit shorter than once around my wrist.


Tie a knot and plait the threads together, so it's the same length as the plait at the beginning. Tie one final knot, trim the ends and wear your bracelet with pride!!


Go and try your threads in different orders to get different looks.
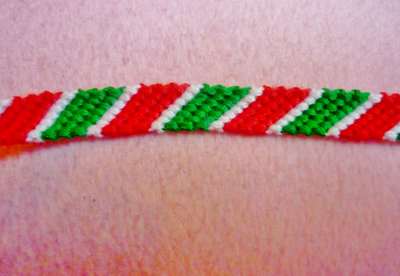
This bracelet I made, I used 3 strands of each colour, except for white, which I only used 2 of.. I spaced them out like GGG W RRR W. I knotted the them the same way as above.
When I try this I the whole bracelet twists and doesn't stay flat, it ends up as a spiral which is very nice but not what I wanted! Any tips to keep it flat?
ReplyDeleteWhen I try this I the whole bracelet twists and doesn't stay flat, it ends up as a spiral which is very nice but not what I wanted! Any tips to keep it flat?
ReplyDeleteYou're maybe pulling it too tight?
Delete